
I have created some fonts using the Custom Stroke Font extension in Inkscape. I have also written extensions of my own to streamline this process. When generating a font using the Custom Stroke Font extension, each path representing a character or glyph need to have an ID equal to the corresponding glyph. It could be quite cumbersome to fill in all those IDs. Then you decide to do some path editing and you might loose those IDs to new autogenerated path IDs (Inkscape 1.1 is better than previous versions). Here my extensions to fetch and set those path IDs come in handy.
What the extensions do
Glyph IDs – get
getGlyphIDs.py/.inx fetch all path IDs of the glyphs and combine these to a continuous string. When editing an existing svg font using the Custom Stroke Font – Edit Font these IDs are ready to fetch. During editing and path manipulation these IDs and the order of the paths could easily be messed up. The getGlyphIDs stores the original IDs into a text-object in a new layer ‘glyphIDs’. When you are ready to generate your new or edited font, you can copy the content of this text object and paste as input-string to setGlyphIDs.
Glyph IDs – set
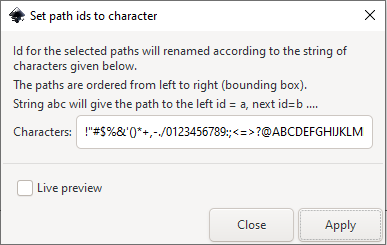
setGlyphIDs.py/.inx set all IDs of the selected paths using one by one character from the input string. The IDs will be ordered from left to right using the left bounding box border.
How to download the extension
- Go to my Inkscape Resources and download the zip file (arrow down button)
- or if you have an GitLab account you could download from here
- The zip file containing the files getGlyphIDs and setGlyphIDs .inx and .py
- Unzip and place the files in your User extensions folder. (Check Inkscape Preferences (Shift+Ctrl+P) and find your local User extensions folder specified in the System tab).
- If you already had the previous setIds.inx/.py you could delete those.
- Restart Inkscape to update with the new extensions. You will find these in menu Extensions > Cutlings, Glyph IDs – get… and – set…
How to use the extensions
When creating a new font or editing a font using Custom Stroke Font (Create Font Design Template / Edit Font) make sure to use No. of rows = 1 as the setGlyphIds use the left bounding box for sorting.
If you are editing a font you should start running Glyph IDs – get just after generating the template with Custom Stroke Font – Edit Font. Then your string of glyph IDs are saved within the layer ‘glyphIDs’. Edit your font and make sure each glyph has one combined path. Finally copy the text-string and paste as input string for Glyph IDs – set. For the setGlyphIDs extension you will need to select the paths (click on one path and then Ctrl+A to select all).
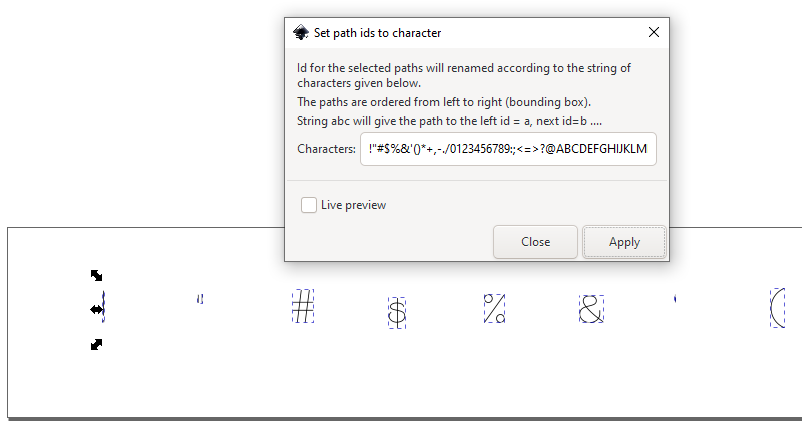
If you are creating a font from the Custom Stroke Font – Create Font Design Template you will need to add the glyph paths yourself. When you are ready to define the path IDs you can use Glyph IDs – set with your custom string representing the order of the glyphs from left to right.
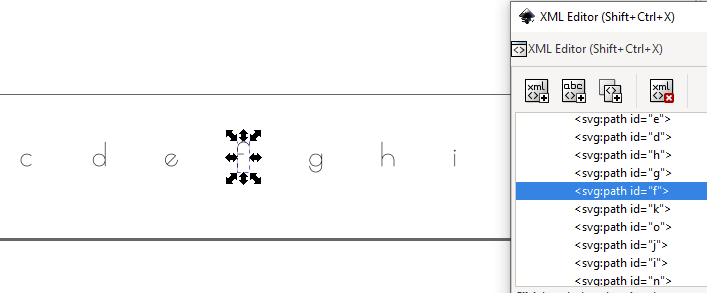
Open the XML editor to verify that the paths have the correct IDs. If one glyph is split into more than one path there will be errors both for this extension and for the Generate font data.. extension from Custom Stroke Font.
Issues
An error might occur if you have a path with ID = ” (quote). Avoid this by temporarely set this ID to ‘temp’ and change that back to ” for the input string of Glyph IDs – set.
I have used these extensions with Inkscape v1.1 on Windows 10. If you find errors (or can verify it for other systems and your paths) I would be happy to know and learn from it. You could leave a comment here or on Inkscape Resource page or as an issue on the Gitlab page for the extension.
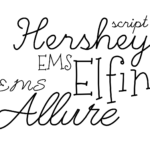
My free single line fonts created with the Custom Stroke Font extension

2 thoughts on “Inkscape extension to get and set glyph ids”