

I’ve never used distress ink in real life myself so I’d appreciate comments on this tutorial to approve the technique. I was thinking that the internet was full of tutorials on the topic, but I found none that I liked and thought I would experiment and find my own technique. And here it goes:
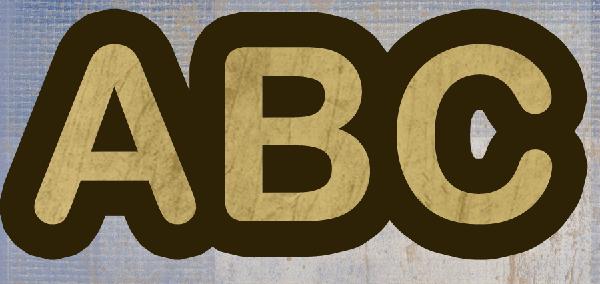
I’m starting with a background and three well known shapes (the letters ABC) where I add a shadow.

Background from The Blues Backpack by Jamie Rousselle (weekly freebie at DSP).
Then I add some grunge to the letters using two transparent layers of dust and scratches found from the invers of the image I downloaded from here. I’ve just selected a part of the dust and scratch image and added it to the letters only (selected everything outside the letters and deleted this).

On the image above I’ve also added some brush effect using the Dry Media Brush – Pastel Medium Tip to add speckles.
Then I make a copy layer of the original letters and add a stroke and simplifies this layer and deletes the original letters so I’m left with the stroke only in this layer.
And I add a gaussian blur to the stroke layer.
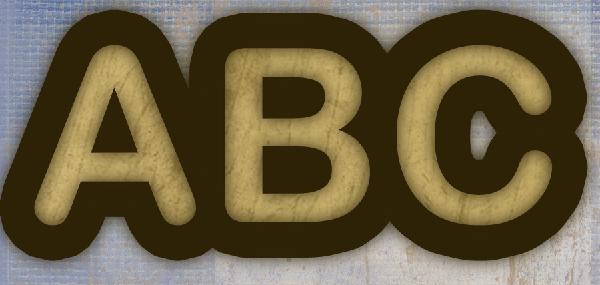
Then I delete everything outside the letters from the blurred stroke layer.

And I’d like a bit more “manual” touch to the distress effect so I make another stroke layer (adds stroke to the original letters, simplify the layer and delete the letters to be left with the stroke only).
And I use the smudge tool with the Dry Media Brush – Pastel Medium Tip as for the speckles earlier on. I use this tool to smudge the stroke onto the letters working as if I had a spunge in my hand onto all the edges.

Finally I delete everything outside the letters to get rid of the stroke.
