
Previously I have posted some tips on how to best convert from SVG to DXF in Inkscape. These tips will prevent inaccurate results and deformed designs in Silhouette Studio. Now I have figured out how to add a calibration frame around the design to get the correct scaling in Silhouette Studio when importing the DXF file. I have also created an Inkscape extension to easily add this calibration frame.
How DXF is resized on import
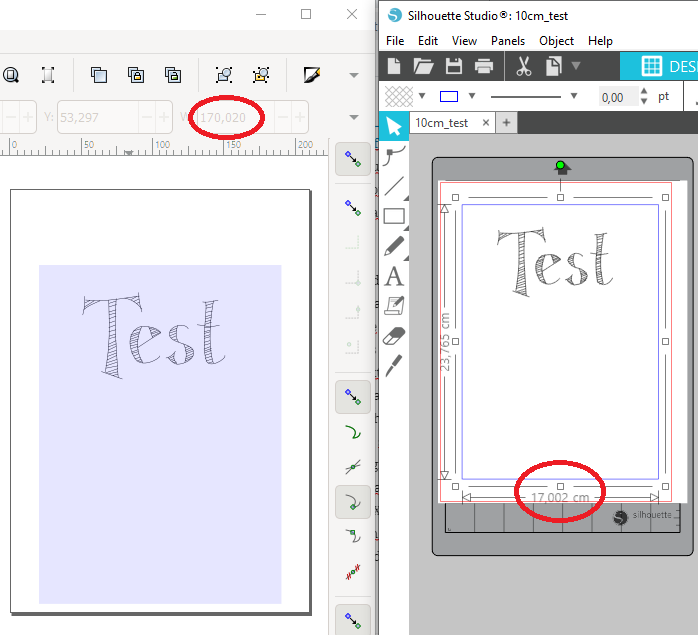
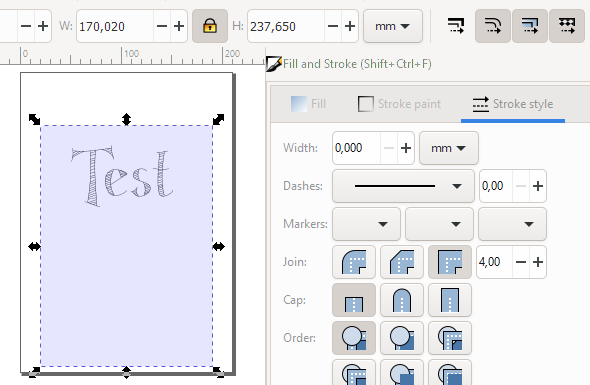
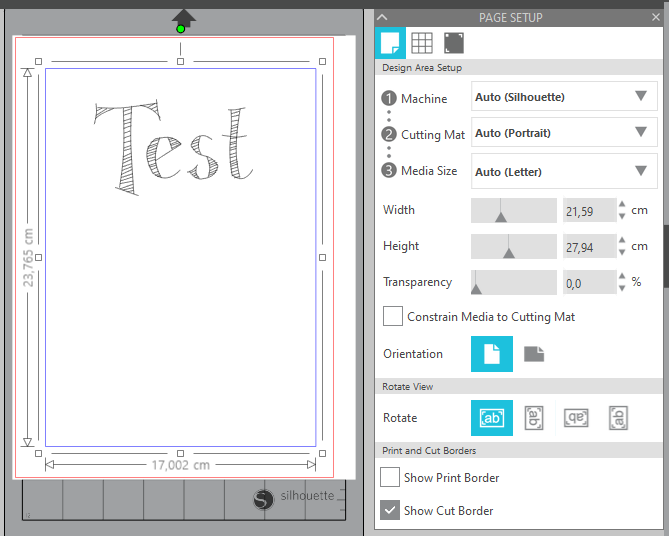
When importing DXF to Silhouette Studio the design is resized to fit a certain size. The behaviour depend on the save settings for DXF and the document settings in Silhouette Studio. You can add a rectangle of a known size around your design to define the sizing and then manually resize in Silhouette Studio. But even better – you can define this rectangle so that the original size will be kept – no need of resizing. Set the stroke color different from the rest of your design and the frame can easily be deleted in Silhouette Studio without the need for releasing compound paths.
The extension
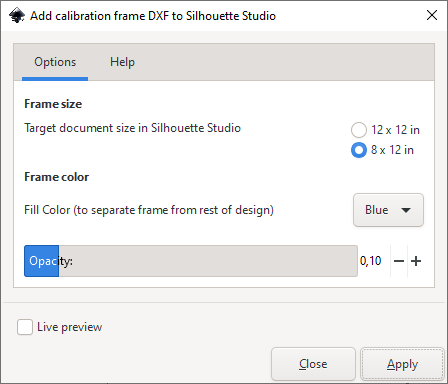
I have created an Inkscape extension to easily add this frame. The extension adds a rectangle matching the import size for a cutting mat and media size of 12x12in or 8x12in. After the rectangle is added you could add nodes and blow the design up like explained in this post to avoid inaccuracies. For the record – I’m using Inkscape v1.0.1, windows 10, Silhouette Studio 4.4.247ss and exporting as DXF 14 using the ROBO option.
Please note
- that width of stroke is included when Inkscape measure with of path. Stroke width is ignored in Silhouette Studio.
- that your design will have to fit into the frame for this to work. If your design is larger the extension will not work. Add a rectangle of known size manually around your design and resize the full design to that same size after importing to Silhouette Studio.
Tutorial
- Make sure you have Inkscape v1.0 or later installed.
- Install the Inkscape extension
- Go to https://inkscape.org/~EllenWasbo/%E2%98%85dxf-calibration-frame-for-silhouette-studio (or from Gitlab)
- Download the zip file containing the .inx and .py files (find the download button = arrow pointing downwards after the title).
- Unzip and place the .inx/.py in your User extensions folder. (Check Inkscape Preferences (Shift+Ctrl+P) and find your local User extensions folder specified in the System tab).
- Restart Inkscape to update with the new extension.
- Add the calibration frame to your design using the extension found in Extensions > Cutlings > Add calibration frame DXF to Silhouette Studio
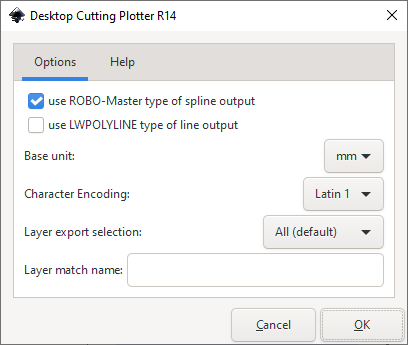
Before converting to DXF you might want to add nodes and blow up the size of your design as explained in this post. Then use save copy as DXF 14 file and use the ROBO option as indicated in the image below.
Now your design should imported with the correct size if using the cutting mat and media size as specified in the extension.
link appears broken
https://gitlab.com/EllenWasbo/inkscape-extension-calibration-frame
Thank you for noting me that you have trouble with the link. The link is not broken, but I realize that one have to be logged in to Gitlab to be able to download. I guess not all of you are interested in creating a Gitlab account. All my Inkscape extensions will also be found on https://inkscape.org/~EllenWasbo
I will have to change that also for similar posts.